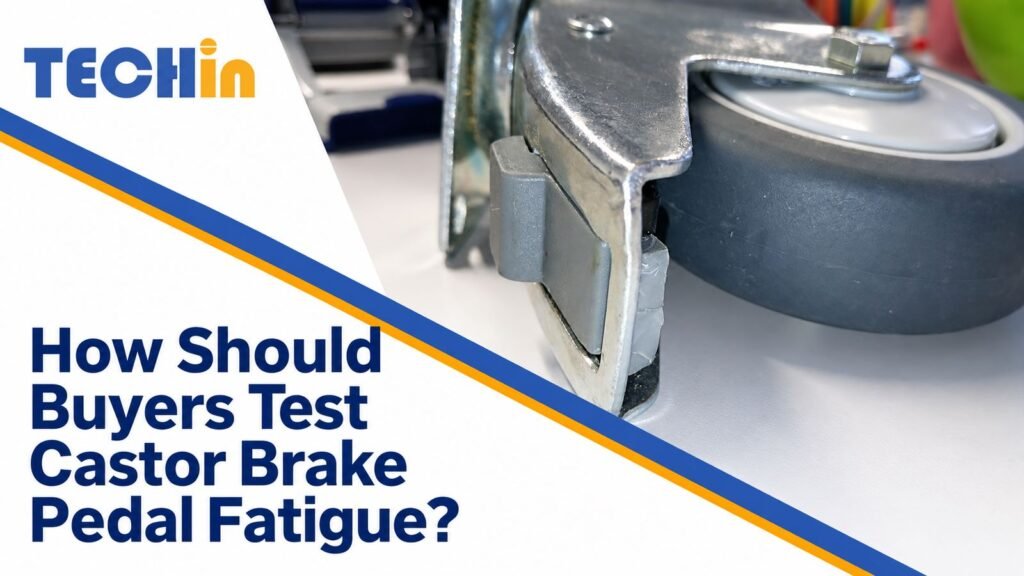
A brake pedal may work once, then crack, deform, or loosen after repeated use. A one time function check is not enough for a braked castor.
Buyers should test the complete castor with its specified wheel, housing, mounting, actuation method, load, cycle count, and damage rules. One operation shows movement, not service life.
A customer contacted Techin Castor after reporting broken brake pedals on C-Series braked castors. The available views show the brake area, wheel, and housing, but not the fracture point or loading history. The buyer lesson is simple: set the durability test before approval instead of guessing the cause from one photo.
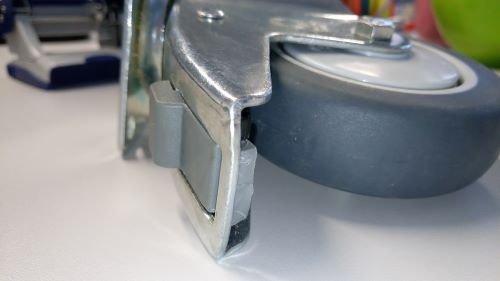
The brake pedal and housing area are visible on a braked castor assembly.
What Does a Castor Brake Pedal Fatigue Test Need to Control?
A test is useful only when the buyer defines the product and how the pedal will be used.
| Test input | Record | Why it matters |
|---|---|---|
| Castor assembly | Wheel, bearing, housing or fork, mounting, and brake arrangement | Parts can change pedal travel and load transfer |
| Pedal operation | Direction, contact point, travel, stop, and force or repeatable method | Different methods create different loads |
| Application | Load per castor, number of castors, floor, slope, temperature, moisture, and chemicals | Conditions change the force on the brake |
| Pass or fail rule | Cycles, inspection points, function checks, and damage limits | Both sides use the same result rule |
ISO 22878:2004 gives a recognised reference for castor and wheel test methods and apparatus.[1] The BS EN 12527 test-method listing explains that the product-specific standard sets the relevant use and acceptance criteria.[2]
Do not copy a force, load, or cycle count from another castor. Set it for the product and application being approved.
How Should Buyers Inspect the Pedal Before Cycling?
Inspect the pedal and fit before applying repeated force. Check the pedal, pivot, pins, fasteners, housing, wheel centre, and nearby contact surfaces.
Look for:
- cracks, burrs, thinning, distortion, or surface damage;
- loose pins, clips, springs, or fasteners;
- limited clearance around the pedal, housing, wheel, and brake contact area;
- a stop that allows over-travel or pushes force into a thin section.
Compare key dimensions with the approved drawing or reference sample. Record the free, engaged, and release positions, plus clearance after the specified wheel is fitted. Do not judge material grade from colour. Record the material family, critical geometry, and drawing revision instead.
Which Loads and Movements Should the Complete Castor Repeat?
Test the finished castor, not only a loose pedal or spring. The wheel, housing, mounting, brake contact, and pedal share one load path.
Use the method that matches your decision:
| Method | How to use it | What it tells you |
|---|---|---|
| Simple screening check | Fit the specified wheel and mounting. Operate the pedal in its intended direction. Check return, braking, swivel locking, play, contact, and visible damage. | It finds fit and function problems before approval samples go further. It does not prove fatigue life. |
| Professional fatigue test | Use a fixture and the specified load, actuation point, travel, force, rate, and cycle count. Record the starting and final condition, and inspect at agreed intervals. | It gives repeatable durability evidence for supplier approval and comparison. |
A hand check is useful for screening. It is not a substitute for a controlled fatigue test when the buyer needs service-life evidence.
Use this sequence:
- Check smooth rolling and free swivelling before braking.
- Fit the specified wheel and mounting condition.
- Apply and release the pedal in the intended direction and contact position.
- Check wheel braking and swivel locking separately, as required by the brake type.
- Repeat the operation from the relevant starting positions under the stated load and surface condition. Record changes in travel or force.
- Inspect the pedal, housing, wheel, fasteners, and contact surfaces after cycling.
This separates four checks: fit, brake function, holding under load, and structural condition after repeated use.
What Counts as a Castor Brake Failure After Testing?
Set the failure rules before testing starts.
| Finding after cycling | Buyer decision |
|---|---|
| Crack, fracture, or new sharp damage | Fail and retain the part for examination |
| Permanent pedal or housing deformation | Fail unless the approved requirement allows it |
| More play, looseness, or a changed stop | Fail and inspect the joint, pin, fastener, and geometry |
| Pedal does not return or brake does not work correctly | Fail the function check |
| Wheel or housing interference | Fail the fit and clearance check |
| Function remains but structural damage is visible | Fail the durability test |
What Should the Supplier Record Before Approval?
Ask for a short report that another inspector can repeat. It should include:
- product code, drawing revision, wheel specification, housing or fork, mounting, and brake type;
- sample condition before testing and the test fixture, load, surface, and environment;
- pedal contact point, direction, force or method, travel, rate, and cycle count;
- initial and final photos, agreed damage limits, and function checks;
- each damaged sample, first observed change, completed cycles, and final result.
Conclusion
Test the complete castor before approval: define the load path, inspect the pedal, repeat the intended operation, set damage rules, and record the result.
Related Reading
References
- International Organization for Standardization, ISO 22878:2004, Castors and wheels — Test methods and apparatus.
- British Standards Institution, BS EN 12527:1999, Castors and wheels — Test methods and apparatus.