Skip to content
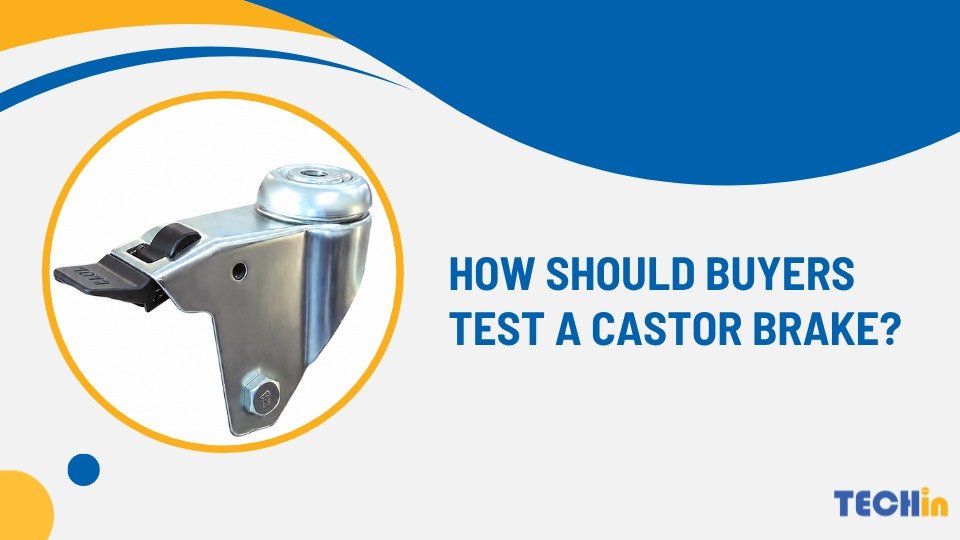
A brake can move correctly in a loose check yet crack or fail after the wheel is fitted. Buyers need a repeatable test for the complete castor.
Buyers should test a braked castor in four stages: inspect the housing and pedal, operate the brake with the specified wheel fitted, check holding under the intended load, and repeat the operation with visible-damage criteria.
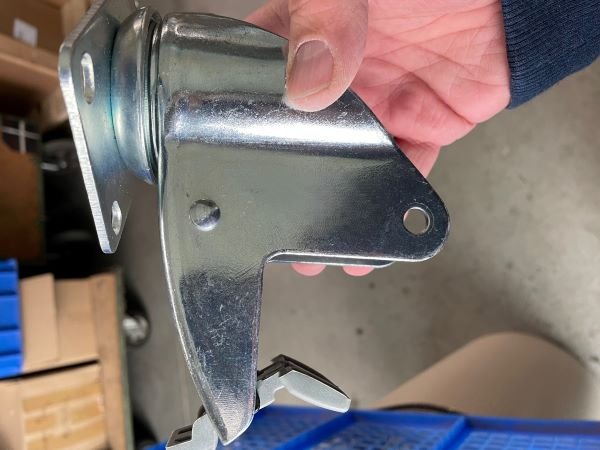
A braked castor housing and pedal shown during an assembly inspection.
A customer contacted Techin Castor after a new C-series housing cracked when a wheel was assembled and the brake was checked. We reviewed the reported assembly condition and the product views. The supplier follow-up focused on factory stock review and brake testing. The buyer lesson is direct: acceptance should reproduce the assembled castor, not only the loose mechanism.
What should buyers define before testing a castor brake?
The test is only useful when the buyer defines the product and application conditions first.
Start with the complete castor description:
- wheel diameter, tread, wheel centre, and bearing;
- housing or fork, mounting type, and brake type;
- intended load per castor and the number of castors on the equipment;
- floor surface, slope, temperature, and operating environment;
- brake actuation direction, tool, and operator method.
This prevents a supplier from testing a different configuration from the one the buyer will assemble. It also makes later results comparable between samples and production lots.
For standards-based work, confirm the relevant product standard before selecting the method. ISO 22878 defines test methods and apparatus for checking castor and wheel performance.[1] The BS EN 12527 test-method listing includes braking-device fatigue and wheel or swivel braking-efficiency checks, while noting that applicability and acceptance criteria come from the specific standard.[2]
How should buyers inspect the castor before and after assembly?
Begin with a visual and fit check before applying force. Inspect the housing, fork, brake pedal, fasteners, wheel centre, and contact surfaces for cracks, distortion, sharp damage, or interference.
Then repeat the inspection after the wheel is fitted. Compare the pedal position, wheel clearance, brake contact, and housing alignment with the approved sample or drawing. A visible crack, permanent distortion, or new interference should be a fail condition even when the wheel still turns.
Do not infer the material grade from colour or appearance. If a moulded component carries the brake force, ask the supplier to control the drawing, material specification, and critical geometry. Sharp corners and abrupt section changes can increase local stress. The Stratasys injection-moulding design guide explains the role of corner radius, wall thickness, and stress concentration in moulded parts.[3]
How should a buyer test brake function with the wheel fitted?
Test the brake only after the specified wheel and mounting condition are installed. Engage and release the pedal using the intended direction and method. Check the result at each position.
| Test point | What to check | Pass condition |
|---|---|---|
| Free position | Wheel rotation and swivel movement | The movement matches the selected brake type, with no rubbing or binding |
| Engaged position | Brake contact and pedal travel | The brake engages fully without cracking, distortion, or abnormal interference |
| Release position | Return movement and clearance | The brake releases completely and the wheel or swivel moves as designed |
| After cycling | Pedal, housing, wheel, and fasteners | No visible damage, permanent deformation, looseness, or loss of function |
Do not call every brake a total lock. A wheel brake should be checked for wheel rotation. A total brake should also be checked for swivel movement. State the intended function in the acceptance record so the inspector does not apply the wrong pass condition.
When should a castor brake be tested under load and through repeated cycles?
Use a loaded test when the equipment will be stationary under load. Define the load, floor surface, slope, brake position, and holding result before the test begins. The load should match the approved application or the relevant product-specific test requirement.
Add repeated engagement and release when the brake will be operated regularly. Record the cycle method, rate, fixture, load, and acceptance criteria. After cycling, inspect the pedal and housing before measuring brake function again.
This sequence separates four different questions:
- Did the part fit without damage?
- Did the complete castor brake correctly?
- Did it hold under the intended condition?
- Did repeated operation leave the structure and function intact?
Do not copy a cycle count or brake-force value from another product without checking its standard and application. A test result is meaningful only when the sample, configuration, method, and pass criteria are identified.
What should a supplier record in the castor brake test report?
Ask for a short report that another inspector can reproduce. At minimum, include:
- product code, drawing revision, wheel specification, brake type, and sample quantity;
- mounting condition, fixture, load, floor or ramp condition, and environment;
- actuation method, cycle method, cycle count, and any measured force or holding result;
- before-and-after photographs of the pedal, housing, wheel, and contact area;
- pass or fail criteria agreed before testing;
- deviations, damaged samples, and the disposition of each tested sample.
The report should identify the tested configuration, not only the family name. This is especially important when the same housing is available with different wheels, brake arrangements, or mounting options.
What does this castor case change for purchasing?
The practical lesson is to specify the complete assembled castor and the test conditions together. A housing that passes a loose movement check has not yet shown that it will survive the buyer’s wheel assembly and brake inspection.
Before approving a supplier, require the assembled-wheel test, the visible-damage rule, and the test record fields above. That small amount of definition makes technical comparisons clearer and gives both sides the same pass condition.
Conclusion
Test the complete castor before approval: inspect the pedal, check brake function with the wheel fitted, test holding under load, repeat the operation, and record visible damage and results.
Related Reading
References
- International Organization for Standardization, ISO 22878:2004 – Castors and wheels – Test methods and apparatus. back
- British Standards Institution listing, BS EN 12527:1999 – Castors and wheels – Test methods and apparatus. back
- Stratasys, Injection Moulding Design Guidelines. back