Skip to content
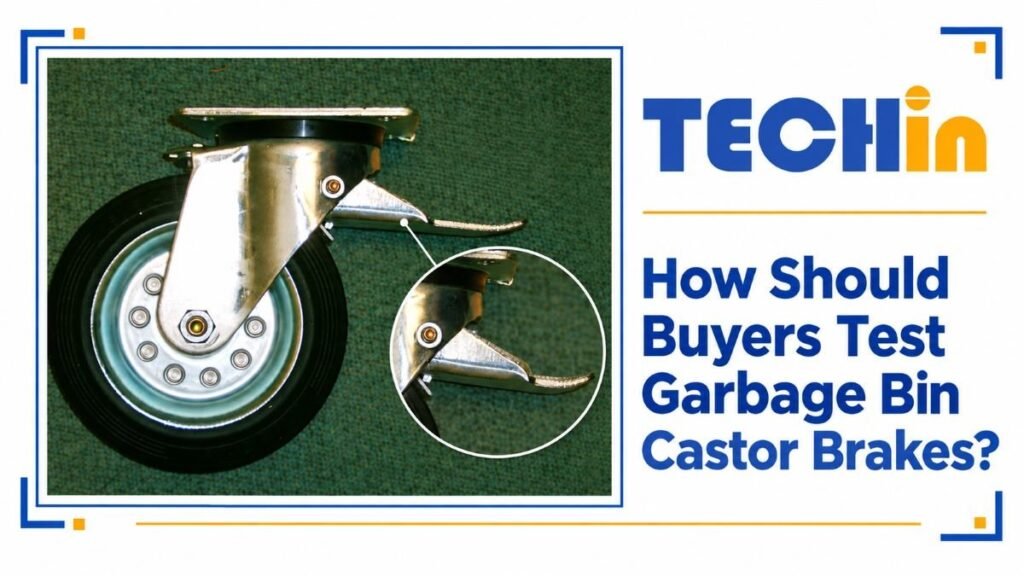
A brake that presses down but still allows a loaded garbage bin to move creates a safety and acceptance problem. Buyers need a test for the complete castor.
Buyers should test garbage bin castor brakes after the specified wheel and housing are assembled, then check wheel holding under the intended load, surface and slope. The acceptance record should identify the brake type, actuation method, test condition and pass result, rather than recording only that the pedal moved.
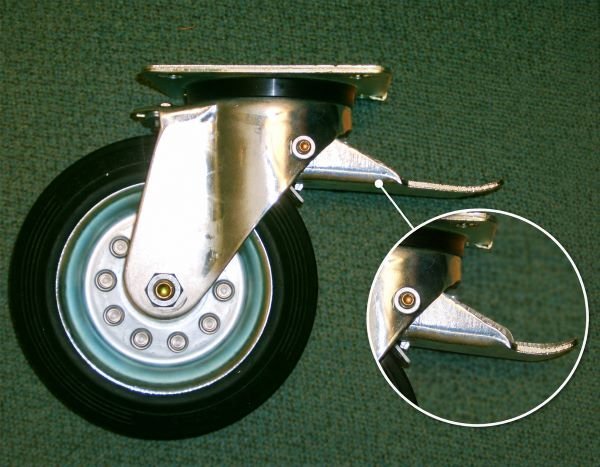
A customer reported unreliable holding after adjustment, showing why a complete-castor test matters.
Why can a garbage bin castor brake fail after assembly?
A brake can look correctly positioned and still fail to hold the wheel. That is where a loose adjustment check becomes misleading.
The strongest risk is a mismatch between brake setting, wheel assembly, load and operating path. Test the complete castor under the intended conditions instead of relying on pedal movement alone.
First identify the intended brake function. A wheel brake stops rotation; a total-stop arrangement may also lock the swivel head. These are different pass conditions. ISO 22878 and BS EN 12527 explain that test methods and acceptance criteria depend on the castor and application.[1][2] Record the release condition in terms of wheel movement, swivel movement where relevant, load and surface. This makes the result repeatable and prevents a loose pedal check from being treated as a finished-product test.
Once the brake function is clear, the next step is to check the delivered configuration rather than a loose mechanism.
What should buyers check on the complete castor?
If the inspector tests a loose pedal or a different wheel, the result may not represent the delivered garbage-bin castor.
Begin with the exact assembly: housing or fork, wheel diameter and tread, wheel centre, bearing, mounting arrangement, brake type and drawing revision. Then inspect the brake after the specified wheel is fitted.
Use a short sequence:
- Check the housing, fork, pedal, fasteners, wheel centre and brake contact area for cracks, distortion or interference.
- Release the brake and confirm that the wheel moves as intended without rubbing or binding.
- Engage the brake using the intended foot position and direction.
- Check wheel movement. If the product is a total-stop castor, check swivel movement separately.
- Repeat the check after the castor is mounted in the intended bin arrangement.
This sequence separates assembly fit from brake function. Compare the approved sample, drawing revision and production configuration, especially after a brake or pedal change. Do not treat a sample made by one process as proof that a later process is equivalent without a defined comparison.
After the assembled castor passes the basic check, test the holding result under the condition that matters to the bin user.
How should buyers test wheel holding under load?
A brake may work on a level bench yet fail to hold the loaded bin on a real surface. The load and floor condition belong in the test definition.
Use the intended load, floor, slope and brake sequence. Confirm that the wheel remains within the agreed movement limit. For a total-stop design, confirm the swivel result as well.
State whether the bin is empty, normally loaded or at the approved maximum. Record floor surface, slope, starting position, actuation method and repetitions. Include pedal access if it sits beneath the bin.
Bin weight, castor condition and floor surface affect movement. Brake systems also differ: Colson distinguishes wheel-locking and total brakes, while ESE distinguishes total-stop, central-brake and direction-lock arrangements.[3][4] Match the pass condition to the selected design instead of copying a generic force or cycle value.
That leads to the final control: a record that another inspector can reproduce before the lot is released.
What should the supplier record before shipment?
A verbal pass is hard to compare across lots. A short record makes the release decision repeatable.
Ask for a report linking each result to the exact configuration and revision, with sample approval separated from production release.
At minimum, record:
- product family, wheel, brake type and drawing revision;
- sample or lot identity and quantity checked;
- mounting condition, load, floor or slope and environment;
- actuation method, positions, repetitions and holding result;
- wheel and swivel movement where relevant;
- damage, interference, deformation or looseness;
- photographs or measurements for failures;
- pass-or-fail rule and release owner.
For a safety relevant brake change, agree before production whether first production needs 100% checking or tightened sampling. Record any process difference between the approval sample and production pedal, verify the first production condition, and define the escalation rule. Keep the record with the approved drawing. If a sample fails, record the condition and disposition instead of averaging it into a pass.
This turns pedal movement into a release decision tied to the tested configuration and pass rule. It gives receiving inspection a repeatable release basis for future repeat orders.
Conclusion
Test the assembled castor under the real load and surface, then record brake type, conditions, movement result and drawing revision before shipment.
References
- International Organization for Standardization, ISO 22878:2004 — Castors and wheels — Test methods and apparatus.
- British Standards Institution, BS EN 12527:1999 — Castors and wheels. Test methods and apparatus.
- Colson Castors, Types of brake mechanisms.
- ESE GmbH, Operating instructions for mobile waste and recyclables bins.