 Skip to content
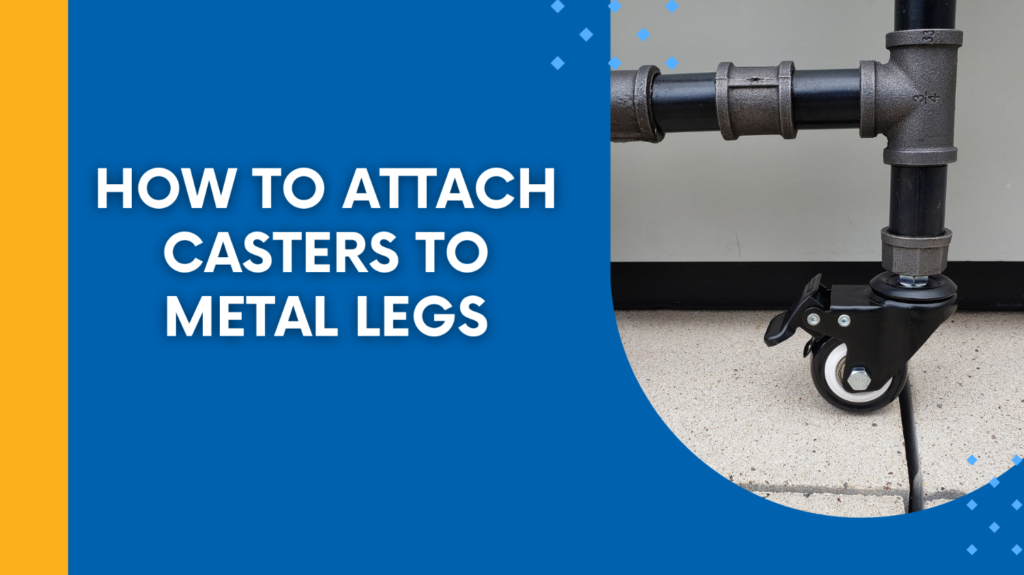
Moving furniture or equipment can be a pain, especially if you’re dealing with heavy stuff. One easy solution is to put casters on the metal legs of your furniture or equipment to make it easier to move. Whether you’re a do-it-yourselfer or a pro, this guide will walk you through the process and help you get a stable, functional result.
Attaching casters to metal legs is a straightforward process involves choosing the right casters, getting the tools you need, marking the spots, drilling holes, and attaching the casters securely. This guide will walk you through each step to make sure you get a stable, functional result.
Now that you understand the basics, let’s dive deeper into each step, starting with the tools you’ll need.
Steps to Attach Casters to Metal Legs
1. Choose the Right Casters
Choosing the right casters is crucial for ensuring your furniture or equipment moves smoothly and safely. Consider the weight of the item and the surface it will roll on. For metal legs, casters with metal stems or mounting plates are often the best choice due to their durability and ease of installation. Be sure to select casters that can support the load and match the type of flooring—whether it’s hardwood, carpet, or concrete.
2. Gather Necessary Tools
Before you begin, make sure you have all the necessary tools on hand. You’ll need a drill, screws, a wrench, a measuring tape, and a marker. If you’re using threaded stem casters, you may also need a tap set to create threads in the metal. Having all the tools ready will save time and ensure a smoother installation process.
3. Mark the Position
Next, measure and mark where each caster will be attached to the bottom of the metal leg. It’s essential to ensure the marks are evenly spaced to maintain stability. Use the measuring tape to accurately position the casters, and mark the spots with a marker. This step is critical for ensuring that your furniture or equipment remains balanced when in use.
4. Drill Holes
With the positions marked, use a drill bit that’s appropriate for metal to create holes where the casters will be attached. If you’re using plate casters, drill holes for the screws. If you’re using stem casters, drill a hole slightly smaller than the stem to ensure a tight fit. Drilling carefully will help maintain the integrity of the metal legs.
5. Attach the Casters
For plate casters, align the plate with the drilled holes and secure it with screws. For stem casters, insert the stem into the drilled hole and secure it with a nut if necessary. Ensure that each caster is firmly attached and aligned correctly. This step is crucial for ensuring the stability and smooth operation of the casters.
6. Test the Installation
Once all casters are securely attached, it’s time to test the movement. Roll the furniture or equipment to check if it moves smoothly and evenly. Ensure that the casters are aligned properly and that the item does not wobble. Testing the installation will help you identify and correct any issues before using the item regularly.
7. Final Adjustments
Finally, tighten any loose screws or nuts and make any necessary adjustments to ensure the casters are functioning properly. Regularly check the casters after installation to ensure they remain secure over time. Making these final adjustments will extend the life of your casters and maintain the safety and functionality of your furniture or equipment.
People Also Ask
1. What Tools Are Needed to Attach Casters to Metal Legs?
To attach casters to metal legs, you’ll need a drill, screws, a wrench, a measuring tape, and a marker. Depending on the type of casters, you may also need a tap set for creating threads in the metal. Having the right tools is essential for a successful installation.
2. How Do I Ensure Casters Don’t Loosen Over Time?
To prevent casters from loosening over time, consider using locking nuts or thread-locking adhesive during installation. Regular maintenance checks to tighten any loose screws or nuts can also help keep the casters secure.
3. How Do I Remove Old Casters from Metal Legs?
To remove old casters from metal legs, first, loosen any screws or nuts securing them. If the casters are threaded, you may need a wrench to unscrew them from the leg. Carefully remove the old casters to avoid damaging the metal legs.
4. Can Casters Be Attached to Any Type of Metal Legs?
Casters can be attached to most types of metal legs, but compatibility depends on factors like leg thickness, shape, and whether the metal is hollow or solid. It’s important to choose casters and installation methods that match the specific characteristics of the metal legs.
Summary
Attaching casters to metal legs can greatly enhance the mobility and functionality of your furniture or equipment. By following these steps and using the right tools, you can ensure a secure and stable installation. Remember to choose the appropriate casters for your needs, and don’t hesitate to make adjustments to maintain their performance over time.
If this guide was helpful for you, pass it on to others who also need boltless shelving. Leave a comment below with your thoughts or questions about boltless shelving. I’d love to hear from you about your experiences with it and if you’re considering using it on your next project.


